I used to reach for the biggest knife in the block and just press harder when it would not slice cleanly through an onion. I thought that was normal. Then my neighbor, who used to work in a restaurant kitchen, watched me prep vegetables one evening and winced. She took my knife, ran it across a honing rod three times on each side, and handed it back. The difference was embarrassing. The blade glided through a tomato without any pressure at all. That five-minute lesson changed how I cook every single day.
If you own a Victorinox Fibrox Pro, you already have one of the sharpest knives in its price range. It leaves the factory with a proper Swiss-ground edge. The only question is whether you are keeping that edge alive between uses. Most home cooks are not, and they do not realize it until the knife feels like it is tearing instead of cutting. This guide walks you through every step: honing before each use, sharpening on a whetstone when honing is not enough, hand-washing correctly, and storing the blade so the edge does not bang against metal drawer clutter. Follow these five steps and the Fibrox Pro will perform at a high level for years.
Your knife can only hold an edge if it started with one. The Victorinox Fibrox Pro arrives factory-sharp.
Rated 4.7 stars by nearly 10,000 home cooks, the Fibrox Pro is the starting point this guide assumes. If your current knife is a department-store block set blade, no amount of honing will fix a steel that was never properly ground to begin with.
Amazon Check Today's Price on Amazon →Step 1: Hone Your Knife Before Every Cooking Session
Honing is not sharpening. People mix these two up constantly, and it leads to blades that are either neglected or ground down too aggressively. Here is the difference: when you cut with a knife, the thin edge of the blade rolls slightly to one side, like a folded sheet of metal foil. The knife is still sharp in terms of its steel, but the edge is out of alignment. Honing straightens that edge back into position without removing any metal. Sharpening removes metal to create a new bevel. You should hone every time you cook. You should sharpen only a few times a year.
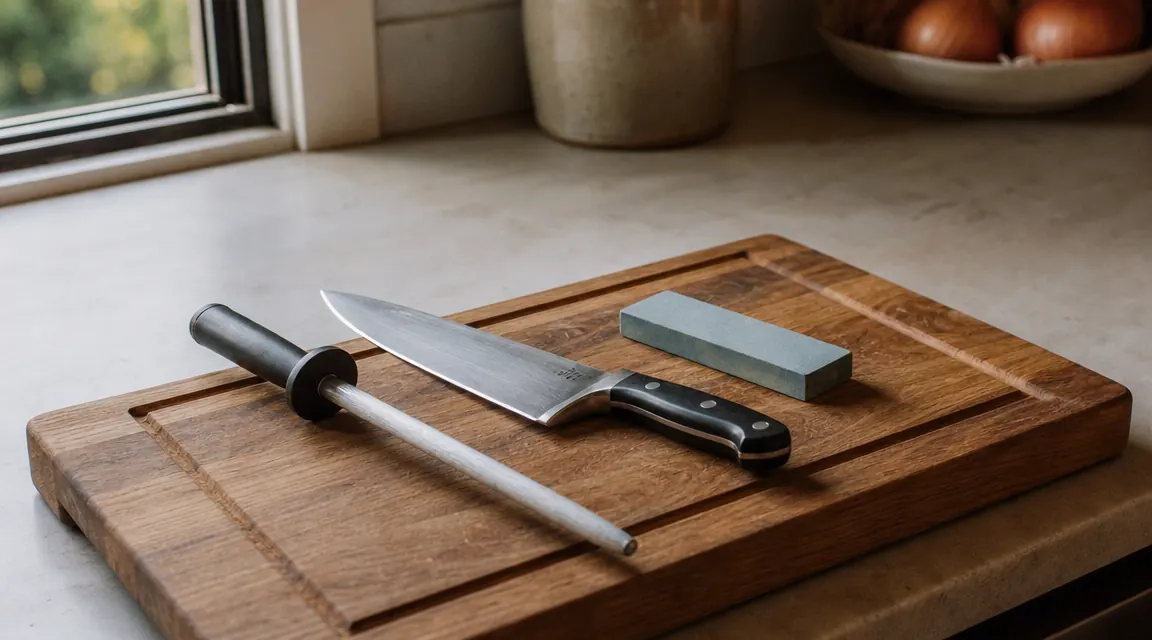
For the Victorinox Fibrox Pro, use a ceramic honing rod rather than a rough steel rod. The Fibrox blade has a 15-degree edge angle per side, which is more acute than European-style knives that sit around 20 degrees. A ceramic rod realigns that edge without being so aggressive that it begins to remove steel prematurely. Hold the rod vertically with the tip resting on a folded dish towel on the counter. Hold the knife in your dominant hand with the spine pointing away from you and the blade edge facing down toward the rod. Lay the flat of the blade against the rod and tilt it back just slightly, finding that 15-degree angle. Draw the blade down and across the rod in a smooth arc, heel to tip, with light pressure. Four to six strokes per side is all it takes. You do not need to press hard. The alignment does the work, not the force.
I keep my honing rod in the same drawer as my kitchen timer, which means I grab both whenever I start dinner. It takes less than 30 seconds. My kids have watched me do it so many times that my nine-year-old calls it 'the knife combing.' That is exactly right.
Step 2: Test the Edge Before Deciding Whether to Sharpen
Before you touch a whetstone, run a simple edge test to confirm the knife actually needs sharpening rather than just honing. Hold a piece of printer paper by one corner in your non-dominant hand and hold the knife in your dominant hand with the blade facing away from you, edge down. Draw the blade down through the paper with no sideways pressure. A properly sharp knife slices cleanly with almost no drag and leaves a straight cut. A knife that needs honing will skid slightly. A knife that needs actual sharpening will tear the paper, snag, or deflect entirely.
Another method: hold the knife under a bright kitchen light and look at the edge from above at a 45-degree angle. A sharp edge reflects no light. If you can see a thin silver line running along any portion of the edge, that section is rolled or has micro-chips and needs attention. The paper test is faster for daily use. The light test is more precise when you are evaluating whether a full sharpening session is warranted.
Step 3: Sharpen on a Whetstone When Honing Is Not Enough
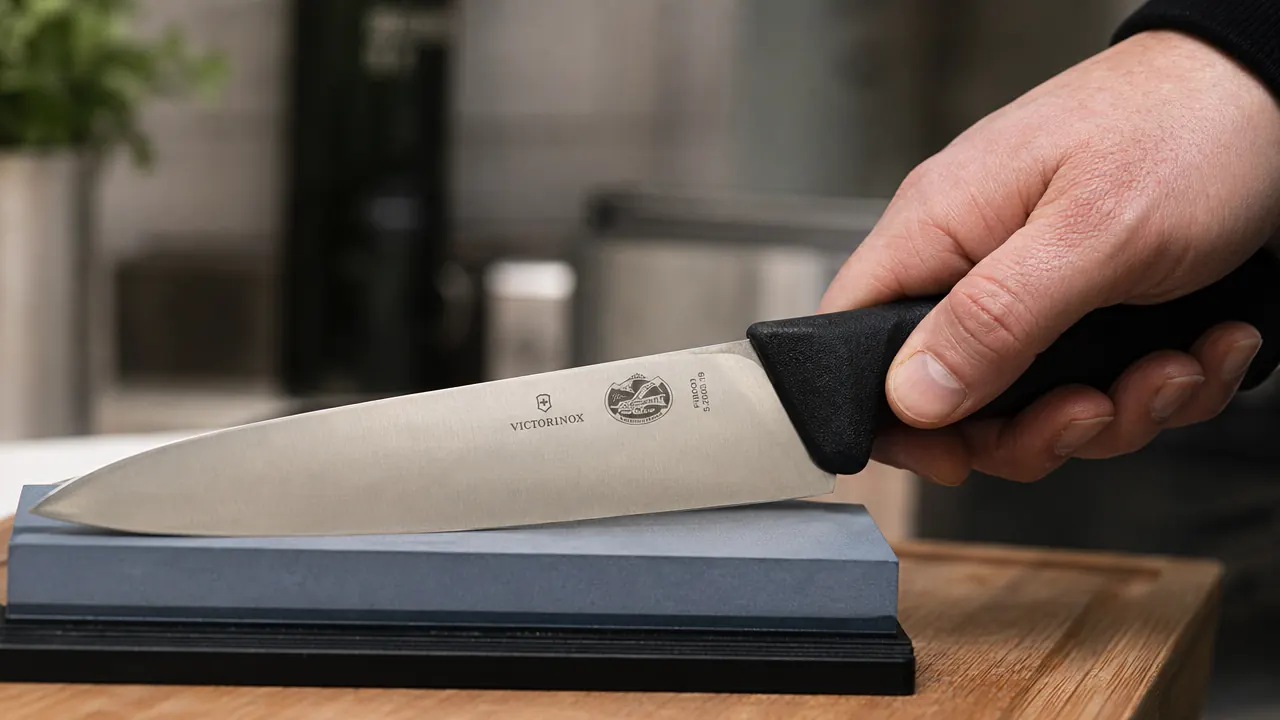
If your Fibrox Pro fails the paper test even after honing, it is time for a whetstone session. For a home cook using the knife four or five nights a week, this typically comes up two to four times a year. You do not need an elaborate setup. A combination whetstone with a 1000-grit side for sharpening and a 3000 or 6000-grit side for finishing is all most home cooks will ever need. Soak the stone in water for five to ten minutes before use so it stays lubricated during sharpening.
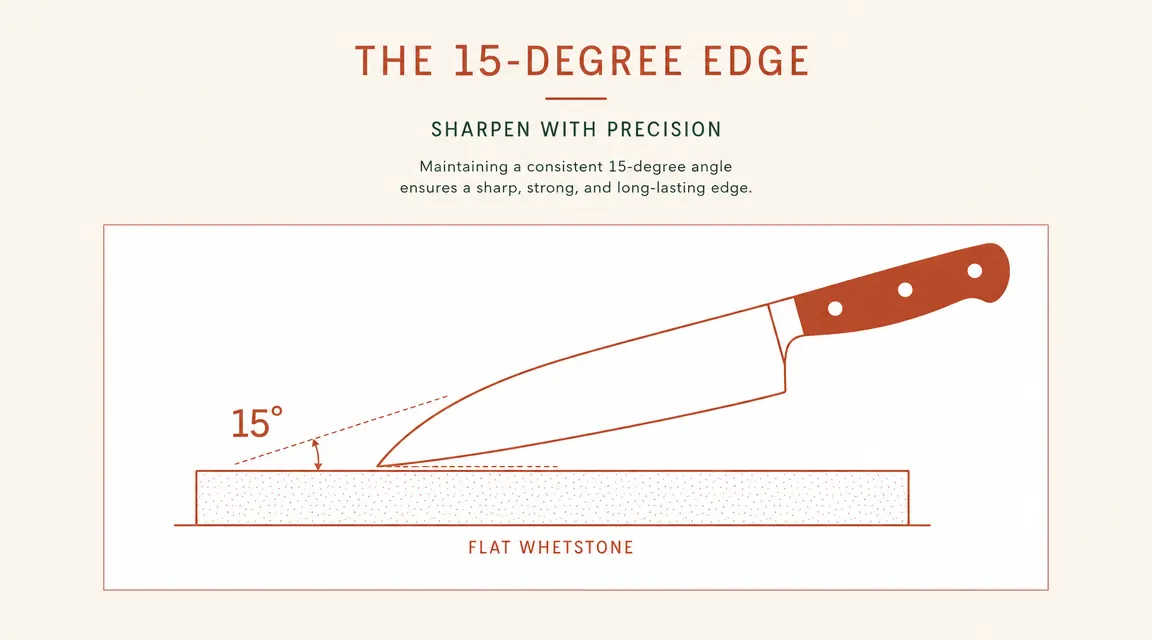
Place the wet stone on a damp cloth to keep it from sliding. Hold the Fibrox Pro with your dominant hand gripping the handle, index finger running along the spine, thumb on the flat of the blade near the heel. Place the heel of the blade at the far end of the stone and set your 15-degree angle. To find 15 degrees without a guide, lay the blade flat at zero degrees, then tilt the spine up until you can slide a matchbook under it. That is roughly 15 degrees. Use the fingertips of your other hand to apply gentle downward pressure on the flat of the blade near the edge. Draw the blade toward you in a smooth arc, moving from heel to tip in one stroke as the blade sweeps across the stone. The tip should leave the stone just as it finishes the stroke. Repeat 8 to 10 strokes on this side, then flip and do the same on the other side. Alternate sides every few strokes. When you feel a slight burr, a faint roughness when you drag your thumb lightly perpendicular across the spine of the edge, move to the finishing side of the stone and do 5 to 6 light strokes per side to refine the edge. Rinse the blade and repeat the paper test.
It takes a few sessions to get the angle muscle memory down. The first time I tried this, I was inconsistent and left the edge slightly uneven. The second time was noticeably better. By the third session it felt natural. Do not be discouraged if your first attempt is imperfect. The Fibrox Pro's high-carbon stainless steel is forgiving, and you are not going to ruin it by being a little off-angle your first time.
A sharp knife asks for almost no pressure. If you are pressing down to get through a carrot, the knife is telling you something.
Step 4: Wash and Dry the Knife Correctly After Every Use
The dishwasher is the fastest way to ruin a good knife edge. The heat, the detergent chemistry, and the vibration from other dishes all combine to micro-chip the edge and dull the steel faster than any cooking use ever would. The Victorinox Fibrox Pro is not dishwasher-safe, and Victorinox says so directly. Hand-wash with warm water and a drop of dish soap, rinse, and dry immediately with a dish towel. Do not leave it wet on the drying rack. Water sitting on the blade creates the conditions for corrosion, especially near the bolster where water pools.
Be careful about the washing motion. A lot of people drag the sponge lengthwise along the blade toward the edge. That is how you nick yourself and how you nick the sponge into your sponge, ruining it. Wipe from the spine of the blade toward the edge, perpendicular, with the edge pointing away from your fingers. Rinse and dry the same way. It takes about fifteen extra seconds compared to just tossing it in the dishwasher, and it is the single biggest factor in how long the edge lasts.
Step 5: Store the Blade Where the Edge Cannot Get Knocked Around
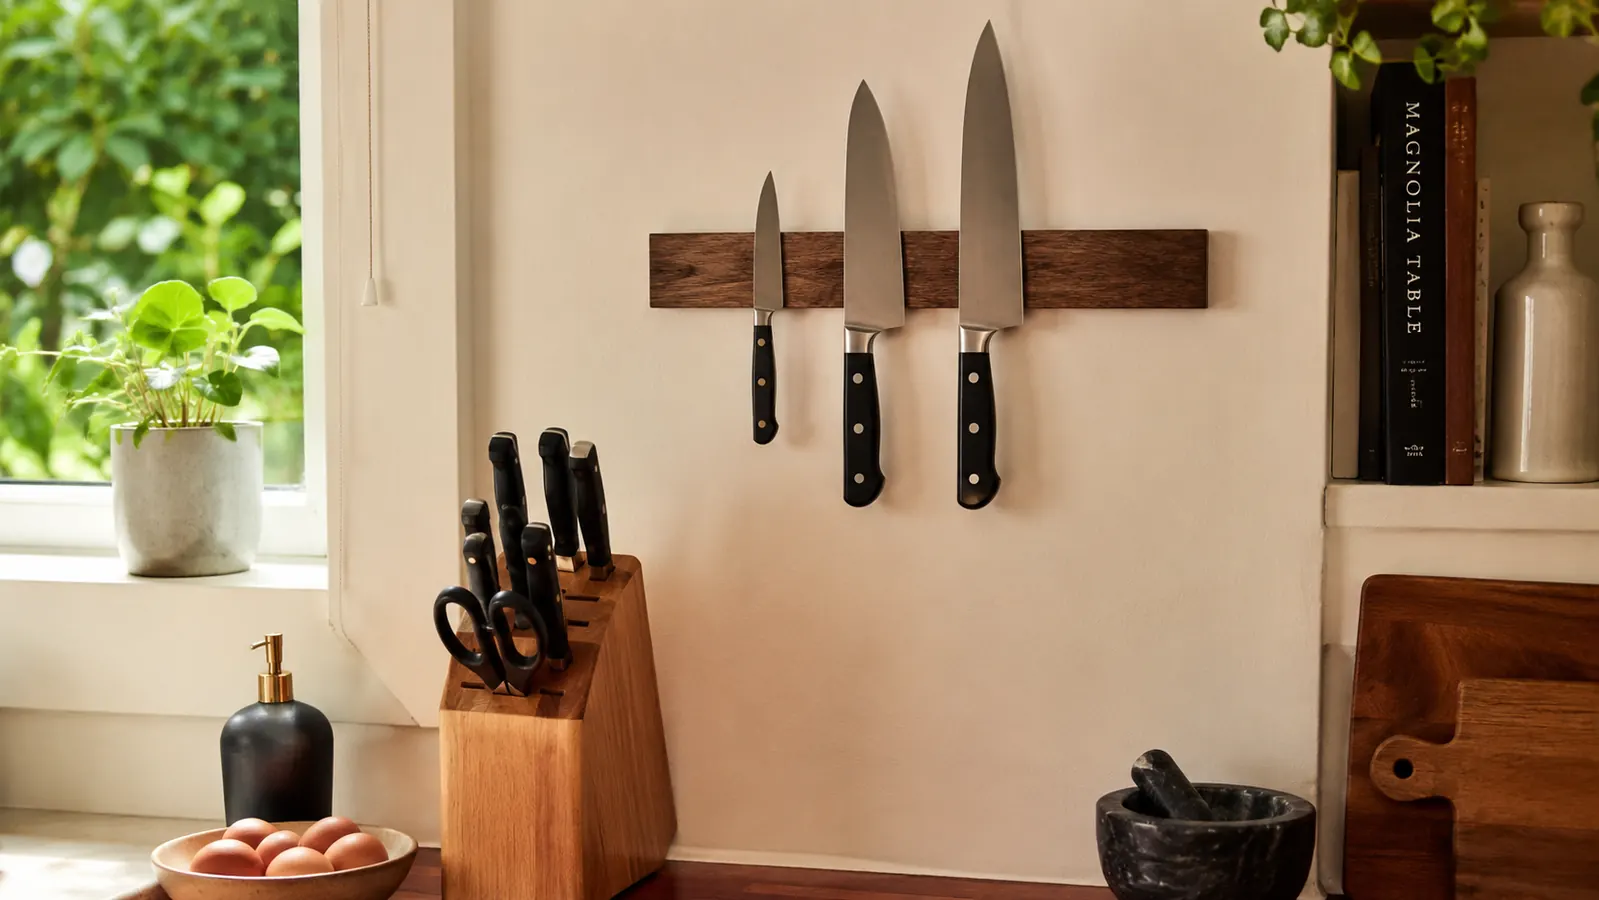
Where you put the knife after washing matters almost as much as how you sharpen it. Tossing a chef's knife into a utensil drawer with spatulas, peelers, and tongs means the edge is banging against metal every time you open the drawer. Even soft contact repeated hundreds of times will roll the edge and accelerate the need for sharpening. There are three storage options that actually protect the blade: a knife block, a magnetic wall strip, or an in-drawer knife organizer with individual slots.
A wooden knife block is the most common and the most forgiving for beginners because the blade slides in without touching hard surfaces. One caution: always insert the knife spine-first so the edge does not drag against the wood slot. Over months of spine-first insertion, the slot stays clean. Edge-first insertion slowly chips the blade with every use. A magnetic wall strip keeps the blade fully exposed, which is ideal for edge preservation but requires a wall with clear mounting space and means the knife is within reach of curious kids. An in-drawer organizer is the middle ground: blades are separated, protected, and out of sight. I use a magnetic strip mounted under my cabinet, low enough for me to reach but high enough that my youngest cannot get to it without a chair.
One storage habit that is easy to overlook: never store a wet knife in a block. The moisture trapped inside the wooden slots creates the conditions for both rust on the blade and mold inside the block. Dry completely before storing, every single time.
What Else Helps
Beyond the five steps above, a few additional habits extend the life of your edge considerably. Use a wood or plastic cutting board, never glass, stone, or ceramic. Those hard surfaces chip the edge with every cut. Glass cutting boards look sleek but they are genuinely terrible for any quality knife. A thick end-grain wood board is the best surface for edge longevity, but a standard poly board works well too.
Keep the knife for cutting tasks only. Do not use it to scrape food off the cutting board by dragging the edge across the board surface. Flip the blade spine-down if you need to scrape, or use a bench scraper for that job. Do not use a chef's knife to cut through bone, frozen food, or anything that requires the blade to twist or pry. The Fibrox Pro is a prep knife, not a cleaver. Use it within its role and it will hold its edge for a long time.
If you are ever in doubt about whether the knife needs honing or sharpening, do the paper test. If it passes, you are fine. If it fails after honing, sharpen. That simple decision tree keeps most home cooks from over-sharpening, which removes steel unnecessarily, or under-sharpening, which means you are fighting the knife every time you cook.
These steps work best when your starting knife was made right. The Victorinox Fibrox Pro is the one most culinary schools issue to students.
The Fibrox Pro's high-carbon stainless steel takes and holds an edge well, and the Fibrox handle is non-slip even when wet, which matters when you are moving fast during dinner prep. If you do not already own one, this is where to start. If you do own one, the care steps above will keep it performing the way it did when it arrived.
Amazon Check Today's Price on Amazon →