
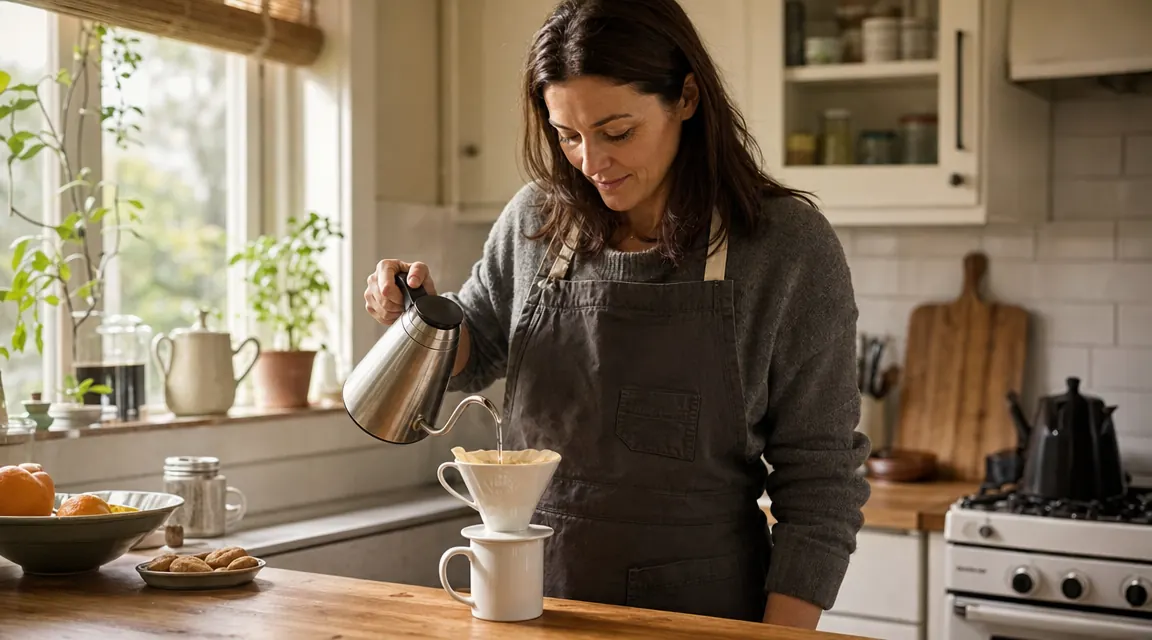
I used to make terrible pour-over coffee. I would boil water, dump it over grounds, and wonder why the result tasted thin and kind of bitter. Every YouTube video made it look like rocket science, with grams to the decimal and water temperature logged in a notebook. I am an accounting assistant and mom of two. I do not have a notebook for this. What I discovered is that pour-over is actually simple, once you understand the two things that actually matter: water temperature and pour pace. Get those right and everything else is details. The tool that finally made it consistent for me is the Cosori Electric Kettle, specifically because its six temperature presets take all the guesswork out of the water temperature problem.
This guide walks through exactly how I do it on a Tuesday morning before my kids are up. No complicated equipment list. No barista jargon. Just the steps that work.
Stop guessing at water temperature and start pulling better shots every morning.
The Cosori Electric Kettle has a dedicated pour-over preset that heats to exactly 200F and holds it there for 60 minutes. No thermometer needed. Over 47,000 Amazon reviewers rate it 4.5 stars. Check today's price and see if it fits your morning routine.
Amazon Check Today's Price on Amazon →What You Actually Need (and What You Can Skip)
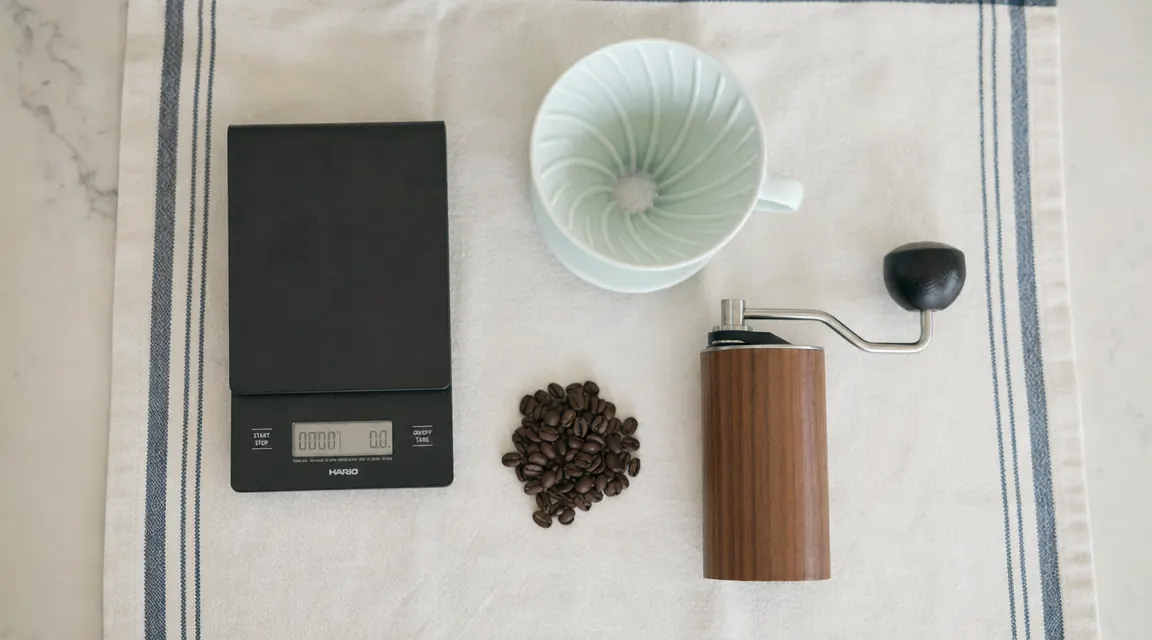
Before we get to steps, let me cut through the gear intimidation. Here is the short list of what genuinely helps: a pour-over dripper (a $12 plastic Hario V60 or a ceramic Chemex-style both work fine), paper filters that fit your dripper, whole bean coffee ground fresh or pre-ground coffee that is a medium-coarse grind, and a kettle that can heat to a specific temperature. That is it. You do not need a gooseneck kettle specifically, though a thinner spout gives you more control. You do not need a kitchen scale on day one, though adding one later is worth it. The one item that actually changes your results before anything else is temperature-controlled water. That is where most home brewers go wrong.
The Cosori kettle I use has a 1.7-liter capacity, heats a full liter in about four minutes, and has a 60-minute keep-warm feature so if the kids need something before I can pour, my water is still at the right temperature when I come back. That last feature matters more than I expected.
Step 1: Choose Your Water Temperature Based on Your Roast
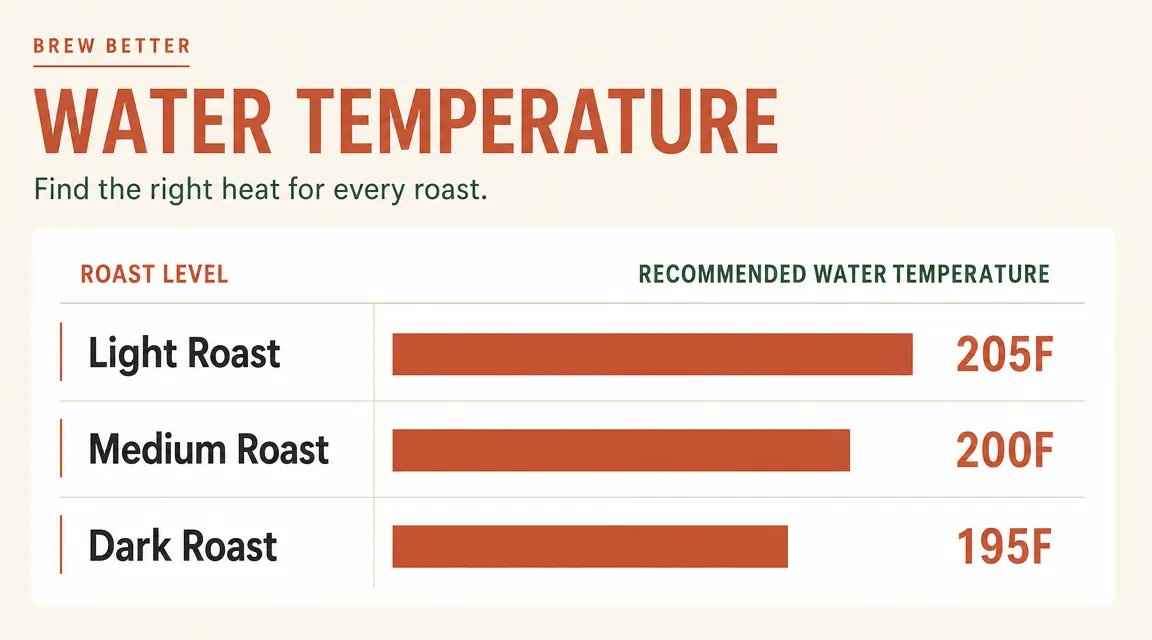
This is the step most home brewers skip, and it explains most of the bad coffee they drink. Water that is too hot over-extracts coffee, pulling bitter compounds you do not want. Water that is not hot enough under-extracts it, leaving you with something sour and weak. The target range for pour-over is 195F to 205F, depending on your roast level.
Light roasts can handle hotter water, around 205F, because lighter roasted beans are denser and need more energy to extract properly. Dark roasts are more porous and already carry more bitterness, so backing down to 195F pulls the good flavors without amplifying the bitter ones. Medium roasts sit right in the middle at 200F, which is why the Cosori's pour-over preset defaults to that temperature. If you are brewing a medium roast, just press the pour-over button and pour. If you are working with a light or dark roast, use the manual temperature setting to dial it in.
On a practical level: do not substitute boiling water (212F) because you are in a hurry. At boiling temperature, pour-over coffee almost always tastes bitter and harsh. The four minutes it takes the Cosori to heat to 200F instead of 212F is genuinely worth it.
Step 2: Rinse Your Filter and Grind Fresh
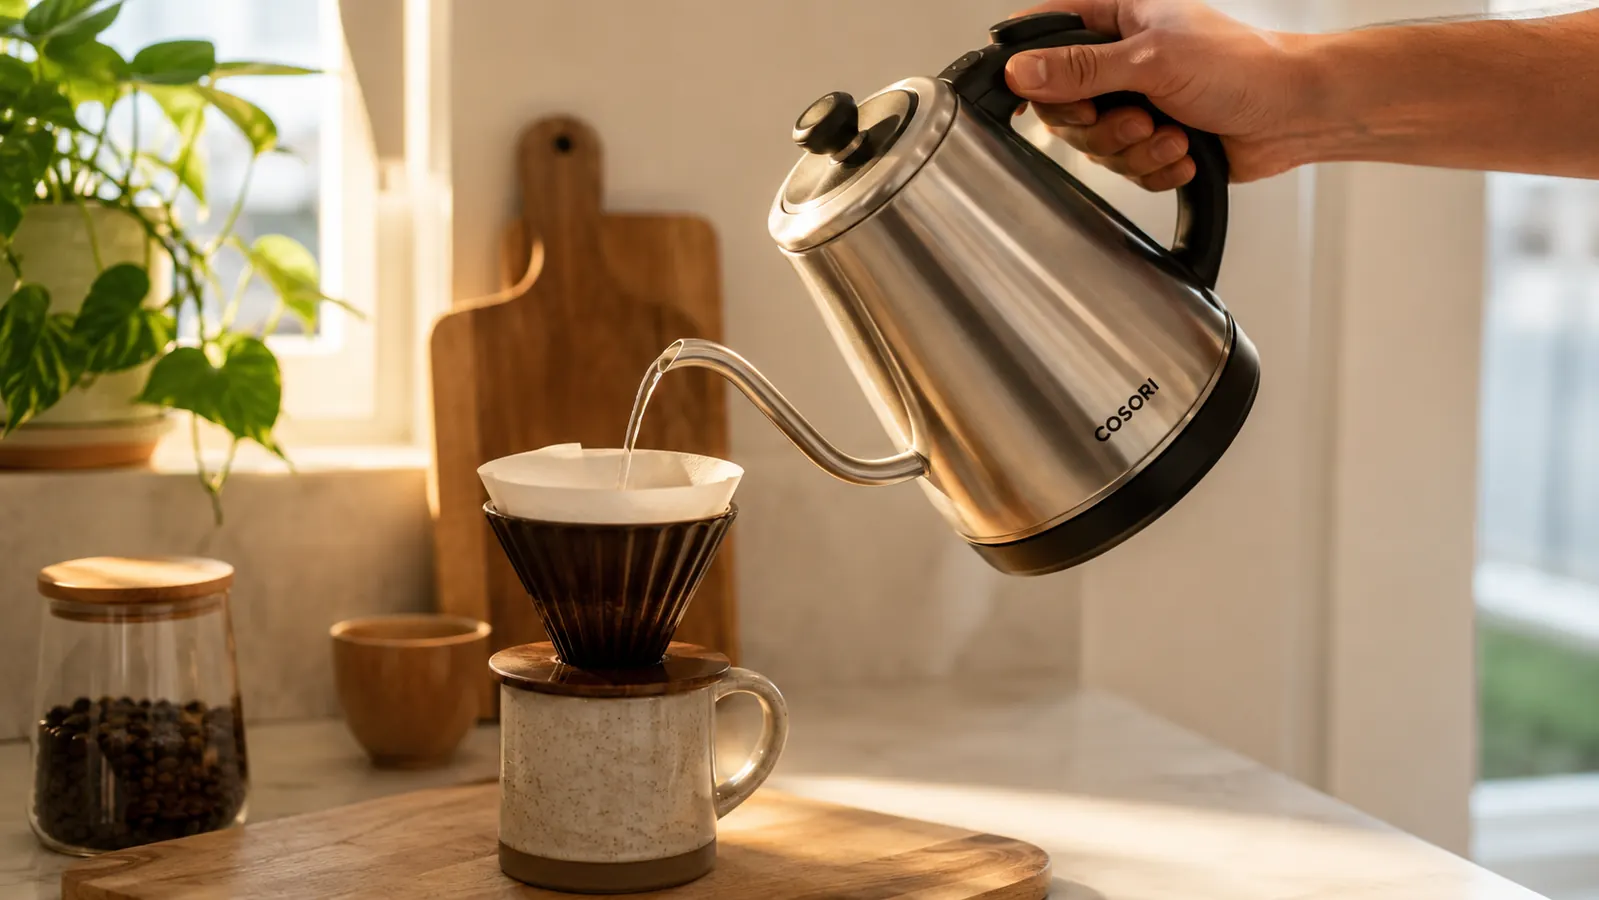
Place your paper filter in the dripper and pour a small amount of hot water through it before you add coffee grounds. This rinses out any papery taste the filter can leave behind, and it pre-warms your mug or carafe so the brewed coffee does not hit cold glass and drop temperature immediately. Give the mug a swirl and dump the rinse water out.
If you are grinding your own beans, aim for a medium-coarse grind. Think of the texture of coarse sea salt. Too fine and the water will drain slowly, over-extracting as it sits. Too coarse and it races through without pulling much flavor. If you are using pre-ground coffee, look for bags labeled for pour-over or drip, which are usually ground at the right coarseness. Add roughly two tablespoons of grounds per six ounces of water as a starting ratio, then adjust to taste over a few mornings.
I measure by eye now, but when I was starting out I used a simple measuring spoon. It took about a week of small adjustments before I landed on a ratio that tasted right to me. Write down what you try so you do not repeat experiments.
Step 3: The Bloom Pour (This Is the One People Skip)
Once your grounds are in the rinsed filter, start with a bloom pour. This means adding just enough water to saturate the grounds, roughly twice the weight of the coffee, and then waiting 30 to 45 seconds before continuing. You will see the grounds bubble and puff up. That is carbon dioxide escaping from freshly roasted coffee. If you skip the bloom and pour all your water at once, that CO2 creates a barrier that prevents even extraction.
In practice, I pour from the Cosori's spout in a small circle starting from the center and moving outward until all the grounds look wet, then I set the kettle down and wait. While I wait, I usually check on whatever is happening in the next room. The keep-warm feature means my water is still exactly 200F when I come back 45 seconds later. That is a detail that sounds small but was genuinely annoying before I had it.
The bloom pour takes 45 seconds and it is the single biggest thing that improved my pour-over. I skipped it for months because nobody explained why it mattered.
Step 4: Pour in Slow, Steady Circles
After the bloom, you pour the rest of your water in a slow, controlled spiral. Start in the center of the grounds and move outward in circles, then back to center. The goal is to keep the coffee bed evenly saturated throughout the pour. You are not dumping water in all at once. You are pouring in a slow, even stream that gives the water time to pass through the grounds at a consistent rate.
Pace matters more than precision here. A medium-slow pour gives you a total brew time of about three to four minutes from bloom to last drop. If your water drains in under two minutes, your grind is probably too coarse. If it takes five minutes or more, it may be too fine or you may have poured too fast at the start and created a clog in the grounds. Both are easy to fix by adjusting the grind for your next batch.
The Cosori's spout is not a gooseneck, so the stream is a bit wider than a dedicated pour-over kettle. It still works well. I just hold it a little lower to get a thinner pour. If pour control is something you care about a lot, a gooseneck attachment or a gooseneck-specific kettle is worth looking at, but for most home brewers the standard spout is fine.
Step 5: Let It Finish, Then Drink It While It Is Hot
Once the last of the water has dripped through, your coffee is done. Lift the dripper off your mug, set it in the sink, and drink it while it is still hot. Pour-over cools faster than espresso-based drinks because there is more surface area in the cup. A pre-warmed mug from the rinse step helps keep it warm longer.
If you want to brew for two cups, just scale everything up proportionally and use a carafe instead of a mug under the dripper. The Cosori holds enough water for two to three 10-ounce cups in a single fill. For a family that drinks coffee, that matters. I heat a full kettle on weekend mornings, brew one cup, use the keep-warm to hold the rest, and have my second cup 20 minutes later at the same temperature.
What Else Helps Your Pour-Over Routine
Once the five steps feel natural, a few other habits make consistent results easier. First, use the freshest coffee you can afford. Coffee off-gasses most of its flavor in the first two to three weeks after roasting. Buying whole beans and grinding them yourself extends freshness significantly, even with a basic hand grinder. Second, clean your dripper and carafe with hot water after each use. Coffee oils go rancid and will affect the taste of your next brew if they are not rinsed out. Third, if your coffee tastes consistently sour, brew hotter or grind a bit finer. If it tastes consistently bitter, brew cooler or grind slightly coarser. Most flavor problems are grind or temperature problems, and both are fixable with small adjustments.
If you are curious about more ways the Cosori kettle earns its counter space beyond pour-over, I wrote about that separately. It also handles green tea at 175F, French press at 195F, and boiling water for pasta or oatmeal on school mornings. The six temperature presets cover essentially every hot-drink use case in one appliance. You can read more in my full review of the Cosori electric kettle, which goes into how the temperature accuracy holds up over time.
There is also a practical breakdown of why an electric kettle with temperature control beats a basic stovetop pot for daily use, which covers the speed and safety differences that matter when you are trying to get kids out the door and still have five minutes for a decent cup of coffee. Both articles go deeper on the kettle itself if you want more detail before buying.
If your morning coffee has been disappointing, water temperature is almost certainly why.
The Cosori Electric Kettle's pour-over preset heats to exactly 200F, holds it for 60 minutes, and costs less than a month of daily coffee shop runs. It has a 4.5-star rating from over 47,000 Amazon buyers. Check the current price and see if it fits your setup.
Amazon Check Today's Price on Amazon →